
One pan, zero stress. These Sheet Pan Halloween Pancakes are the festive breakfast hack every busy parent needs. Fluffy, colorful, and ready for cookie cutter magic—this is how you win Halloween morning without breaking a sweat.
- Prep
- 10 min
- Cook
- 15 min
- Total
- 25 min
- Makes
- 6 servings
I used to think Halloween breakfast was a lost cause. You’re either scrambling to get costumes on or scraping burnt toast off the pan. Then I discovered the ultimate lifesaver: Sheet Pan Halloween Pancakes.
This isn’t just a recipe; it’s a strategic move for parental sanity. One pan, zero stress, and a breakfast that actually looks intentional. Forget complicated spooky recipes—this is how you win the morning without losing your mind.
Imagine this: you pour one single batter into a sheet pan, pop it in the oven, and 15 minutes later you’re cutting out pumpkin and ghost shapes.
No standing over a griddle flipping individual cakes while your coffee gets cold. The edges get delightfully crispy, the center stays fluffy, and you have a blank canvas for your Halloween creativity. Is it basically a giant baked pancake you can customize?
Absolutely. And it’s glorious.
Ingredients
Gathering your ingredients for these festive sheet pan pancakes is the easiest part of your Halloween prep. I bet you have most of this already.
The only quirky item might be the food coloring, but even that’s optional if you want to keep it classic.
- 2 cups all-purpose flour
- 2 tbsp granulated sugar
- 1 tbsp baking powder
- 1/2 tsp salt
- 2 large eggs
- 1 3/4 cups milk (any kind)
- 1/4 cup melted butter, plus more for pan
- 1 tsp vanilla extract
- Orange and black gel food coloring
- Non-stick cooking spray
- Your favorite Halloween-themed cookie cutters
Step-by-Step Instructions
- Preheat your oven to 425°F (220°C). This high heat is key for getting that perfect rise and golden edge on your sheet pan Halloween pancakes.
- Grease a standard 9x13 inch sheet pan generously with butter or non-stick spray. Nobody wants pancake shapes stuck to the pan—trust me.
- In a large bowl, whisk together the dry ingredients: flour, sugar, baking powder, and salt.
Make a well in the center for your wet ingredients.
- In another bowl, beat the eggs, then whisk in the milk, melted butter, and vanilla. Pour this mixture into the dry ingredients and stir until just combined. A few lumps are totally fine.
- Divide the batter into two separate bowls.
Color one bowl with orange food coloring and the other with black. Stir each until the color is vibrant and uniform.
- Pour the colored batters onto the prepared pan, swirling them slightly with a knife for a marbled effect, or keeping them separate for solid colors.
- Bake for 12-15 minutes, or until the center is set and a toothpick comes out clean. Your kitchen will smell amazing.
- Let the giant pancake cool in the pan for 5 minutes.
Then, use your Halloween cookie cutters to stamp out shapes directly in the pan. Serve immediately with syrup.
Storage Instructions
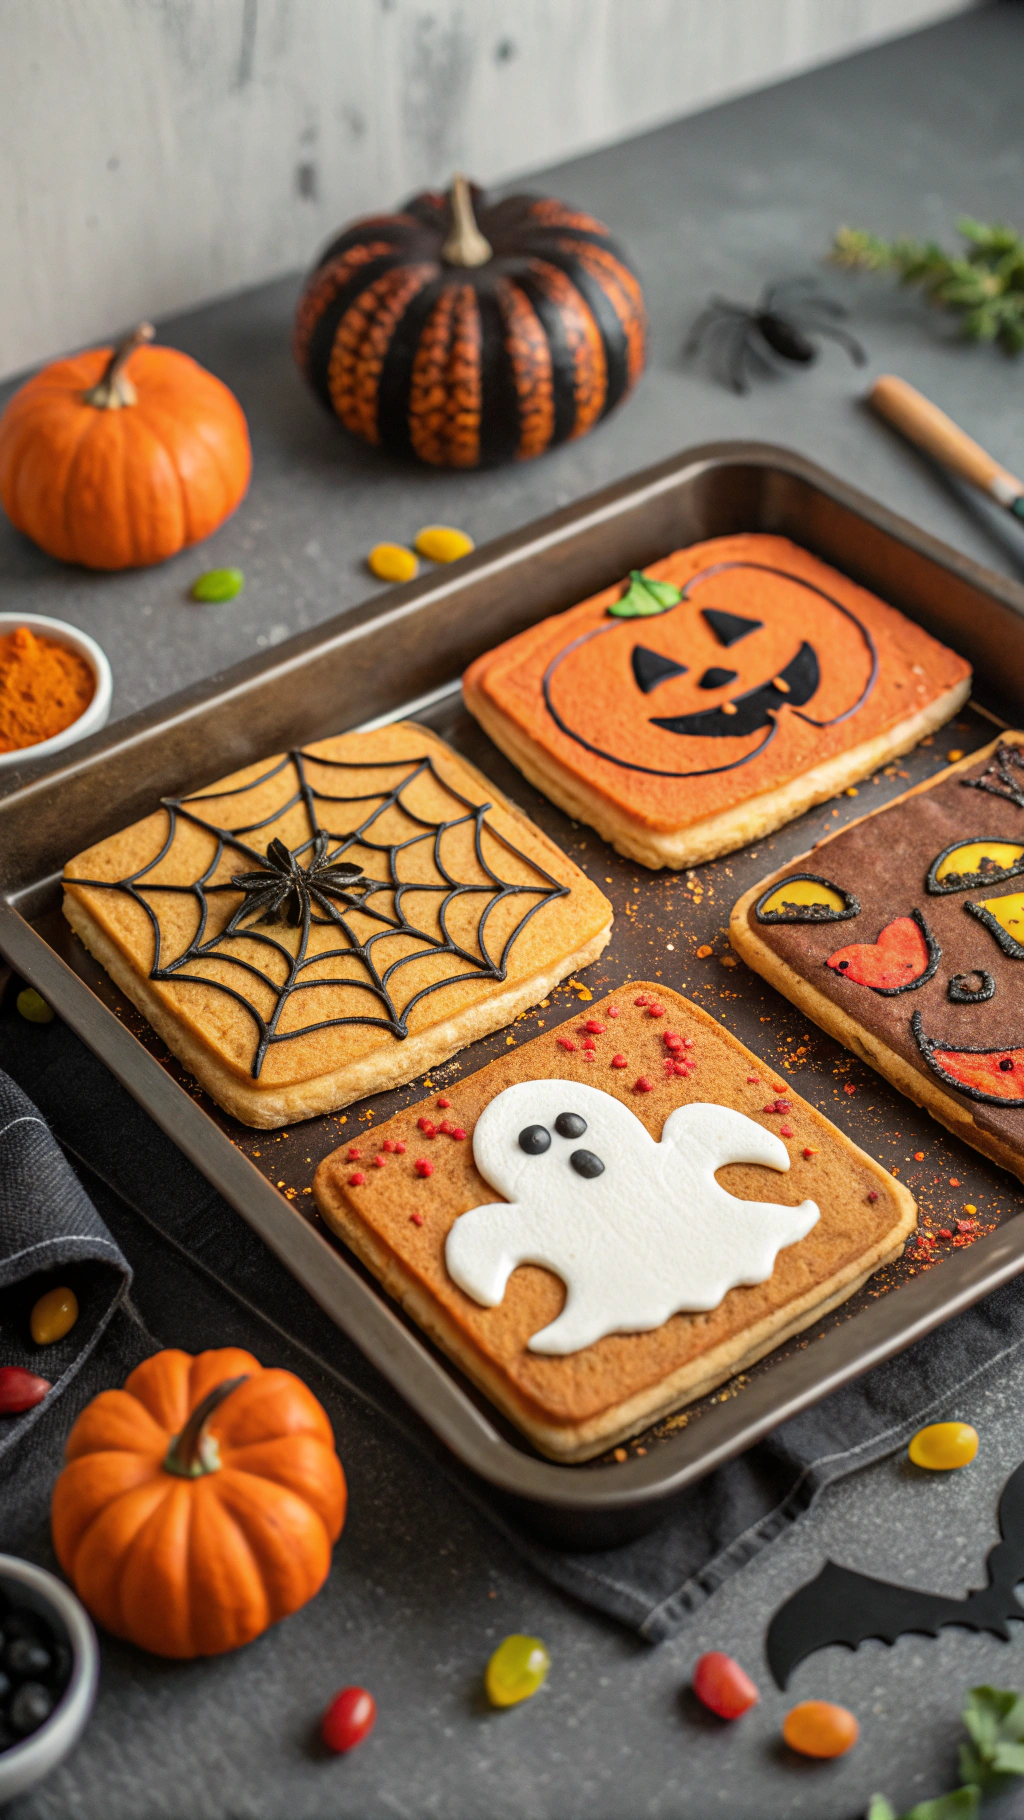
Leftover spooky pancake shapes are a rare occurrence, but it happens. Let them cool completely first.
For the fridge, store them in an airtight container for up to 3 days. To freeze, lay them in a single layer on a baking sheet to flash freeze, then transfer to a freezer bag for up to 2 months. Reheat in the toaster for a quick breakfast hack!
Why You'll Love This Sheet Pan Halloween Pancakes
- Major Time Saver: You bake one giant pancake instead of babysitting a skillet.
This means more time for sipping coffee and less time for chaos.
- Total Crowd-Pleaser: Kids lose their minds (in a good way) over the fun shapes and colors. It’s an instant mood booster.
- Endlessly Customizable: Use different colors for various holidays, add chocolate chips, or keep it simple. The sheet pan method is your new best friend.
Common Mistakes to Avoid
- Overmixing the batter.
This leads to tough, dense pancakes. Lumps are your friend, IMO.
- Skipping the greasing step. The panic of trying to pry a giant pancake out of a stuck pan is a horror story you don't need.
- Using liquid food coloring instead of gel.
Gel gives vibrant colors without thinning your batter.
- Cutting shapes while the pancake is too hot. It will fall apart. Patience is a virtue, even on Halloween.
Alternatives and Variations
This recipe is incredibly flexible.
For a gluten-free version, use a 1:1 gluten-free flour blend. To make it vegan, swap the eggs for flax eggs and use plant-based milk and butter. You can also add mix-ins like sprinkles, chocolate chips, or even pumpkin puree for flavor.
For a protein boost, stir a scoop of vanilla protein powder into the batter.
FAQs
Can I freeze this?
What's the best substitute for gel food coloring?
How long does it stay fresh?
Is this kid-friendly?
Can I prep it ahead of time?
Final Thoughts
This Sheet Pan Halloween Pancakes recipe is a game-changer for busy holiday mornings. It’s simple, fun, and delicious—everything a festive breakfast should be. I hope it brings a little magic (and a lot of ease) to your table.
Give it a try and tag me in your creations!
From the LamyRecipes kitchen
Sheet Pan Halloween Pancakes
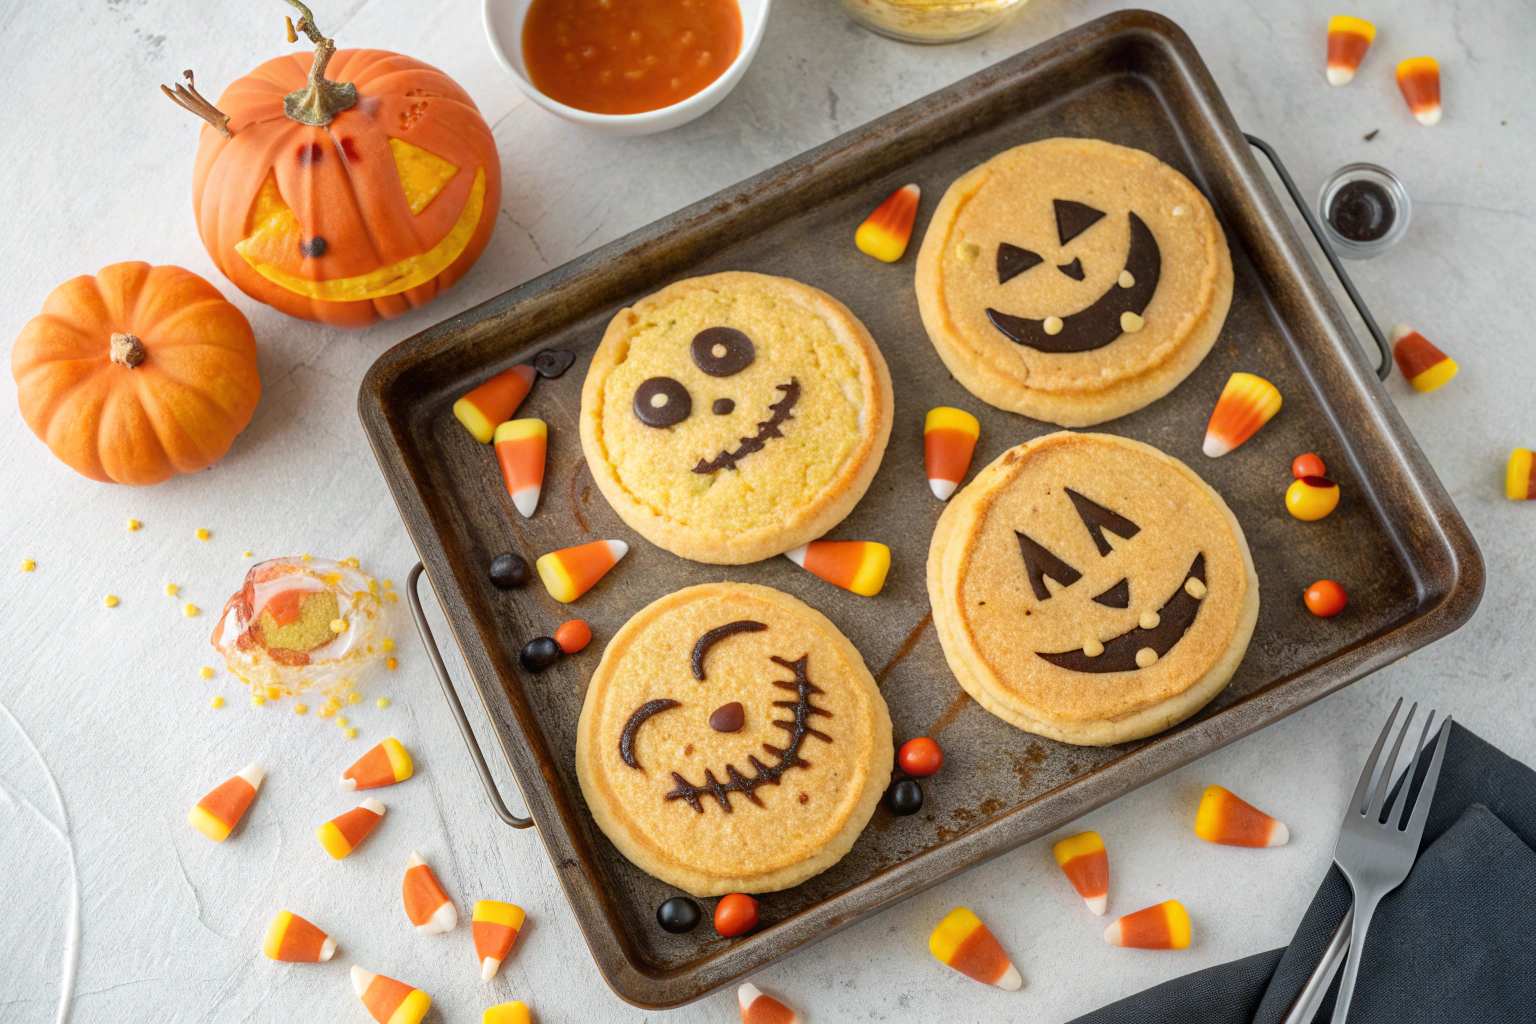
One pan, zero stress. These Sheet Pan Halloween Pancakes are the festive breakfast hack every busy parent needs. Fluffy, colorful, and ready for cookie cutter magic—this is how you win Halloween morning without breaking a sweat.
- Servings
- 6 servings
- Prep time
- 10 min
- Cook time
- 15 min
- Total time
- 25 min
Ingredients
- 2 cups all-purpose flour
- 2 tbsp granulated sugar
- 1 tbsp baking powder
- 1/2 tsp salt
- 2 large eggs
- 1 3/4 cups milk (any kind)
- 1/4 cup melted butter, plus more for pan
- 1 tsp vanilla extract
- orange and black gel food coloring
- non-stick cooking spray
- Halloween-themed cookie cutters
Instructions
Preheat oven to 425°F (220°C). Generously grease a 9x13 inch sheet pan with butter or non-stick spray.
In a large bowl, whisk together the flour, sugar, baking powder, and salt. Make a well in the center.
In a separate bowl, beat eggs. Whisk in milk, melted butter, and vanilla. Pour into dry ingredients and stir until just combined. Don’t overmix!
Divide batter evenly into two bowls. Add orange food coloring to one and black to the other. Mix each until color is uniform.
Pour both colored batters into the prepared pan. Swirl gently with a knife for a marbled look, or keep separate for color blocking.
Bake for 12–15 minutes until center is set and a toothpick comes out clean.
Let cool in the pan for 5 minutes. Use Halloween cookie cutters to stamp out fun shapes.
Serve with syrup and Halloween joy.